Views: 1
概要
Amazon EC2サーバーのNginxをNode.js(Express)へのプロキシーとして設定してGitHubのsocketio/socket.ioにあるchatのサンプルプログララムを再現する。サイトのHow to useには、次の記述があるが、環境設定とプログラムを一部修正した。
$ cd socket.io
$ npm install
$ cd examples/chat
$ npm install
$ npm start
And point your browser to http://localhost:3000. Optionally, specify a port by supplying the PORT env variable.
http://localhost:3000ではなくEC2ホストを指定するために以降の変更を行った。
Nginxのconfパラメタ設定
NGINXをWebSocket Proxyに使う(Amazon EC2)で紹介した設定に静的コンテンツを提供するためのlocation ~ ^/chat/(.*)$を追加する。サンプルのchat/publicディレクトリの下のファイルは、/your/web/example/chat/の下に配置した。
map $http_upgrade $connection_upgrade {
    default upgrade;
    '' close;
}

upstream websocket {
    server 127.0.0.1:3000;
}

server {
    server_name example.host.com;

    略

    location ~ ^/chat/(.*)$ {
        alias /your/web/example/chat/$1;
    }

    location / {
        proxy_pass http://websocket;
        proxy_http_version 1.1;
        proxy_set_header Upgrade $http_upgrade;
        proxy_set_header Connection $connection_upgrade;
        proxy_set_header Host $host;
    }
}
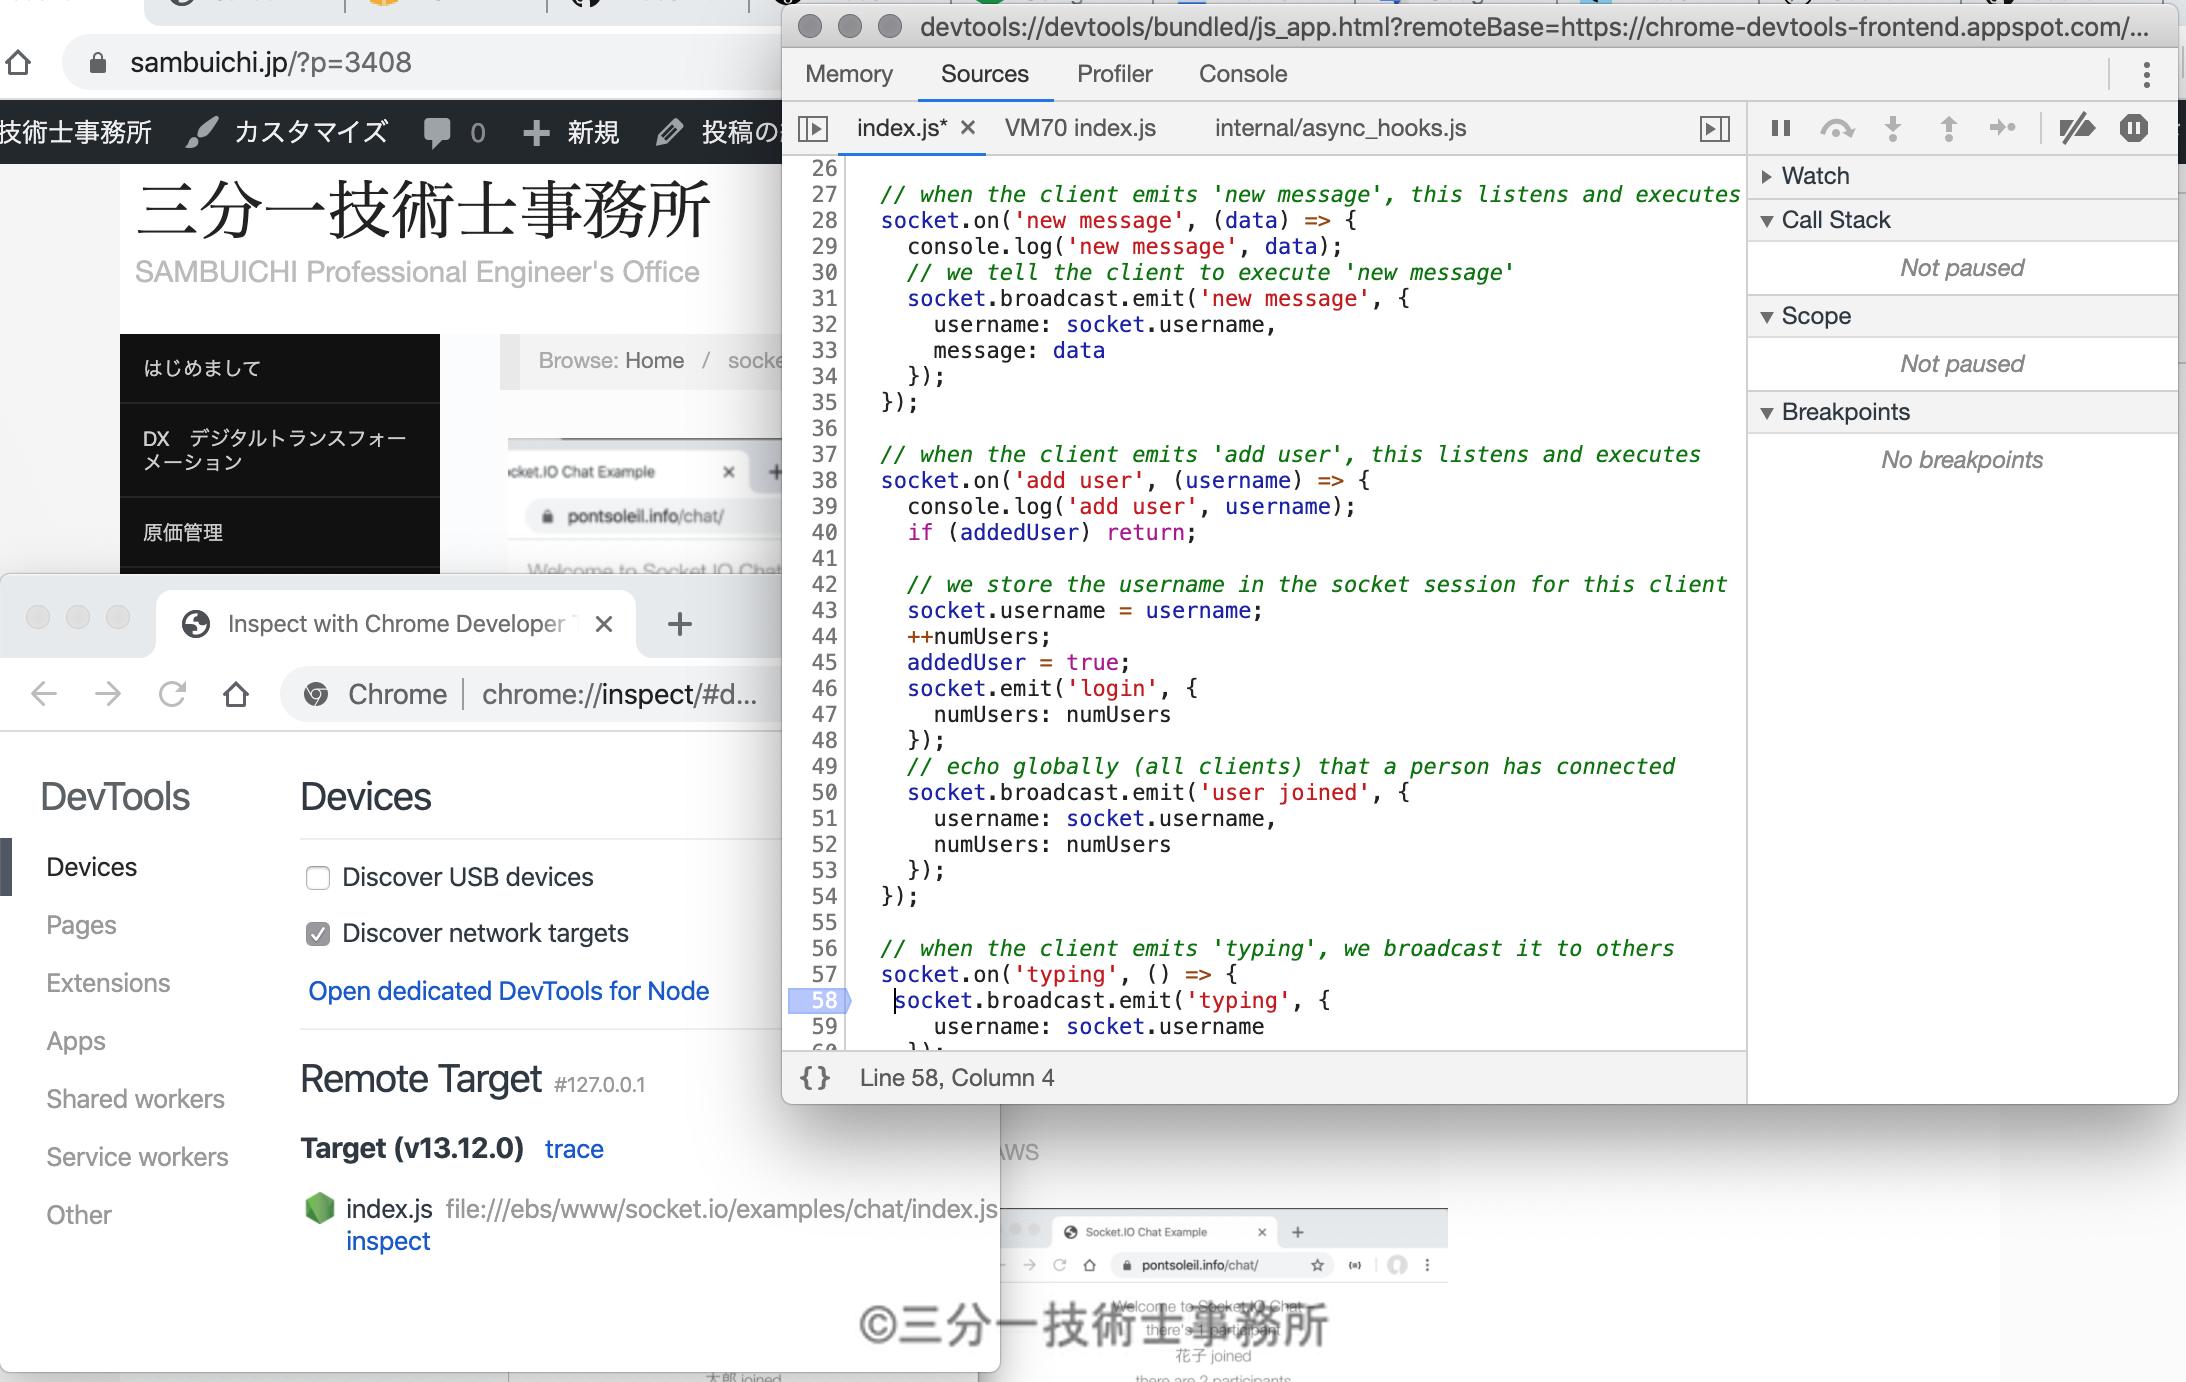
GitHubプログラム修正
chatプログラムを実行するために、変更したのは次の箇所。socket.ioライブラリをpackage.jsonに追加。
var server = require('http').Server(app);
var io = require('socket.io')(server);
{
  "name": "socket.io-chat",
  "version": "0.0.0",
  "description": "A simple chat client using socket.io",
  "main": "index.js",
  "author": "Grant Timmerman",
  "private": true,
  "license": "BSD",
  "dependencies": {
    "express": "4.13.4",
    "socket.io": "^1.7.3"
  },
  "scripts": {
    "start": "node index.js"
  }
}
また、index.htmlのsocket.ioへのパスを変更して次のようにした。
<script src="https://cdn.jsdelivr.net/npm/socket.io-client@2/dist/socket.io.js"></script>
<script src="main.js">
この後
$ npm install
$ npm start
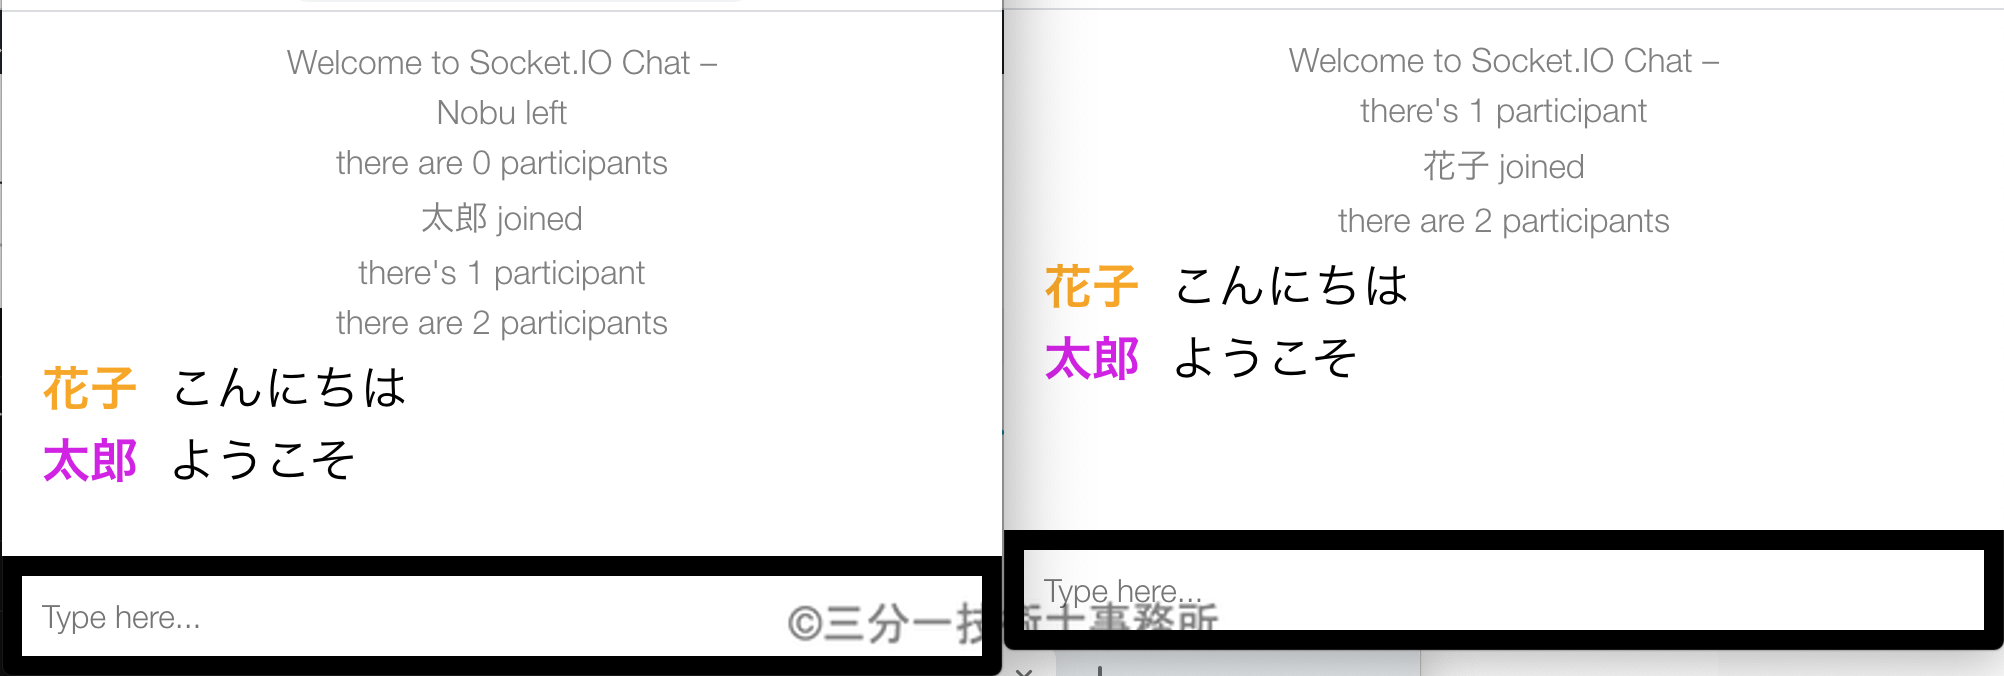
サーバープログラムは、Nodeサーバープログラムの開発に従った手順で動作確認した。